
Build a Content-Aware Media Cropper Using AI, Cloudinary, and Streamlit
TL;DR
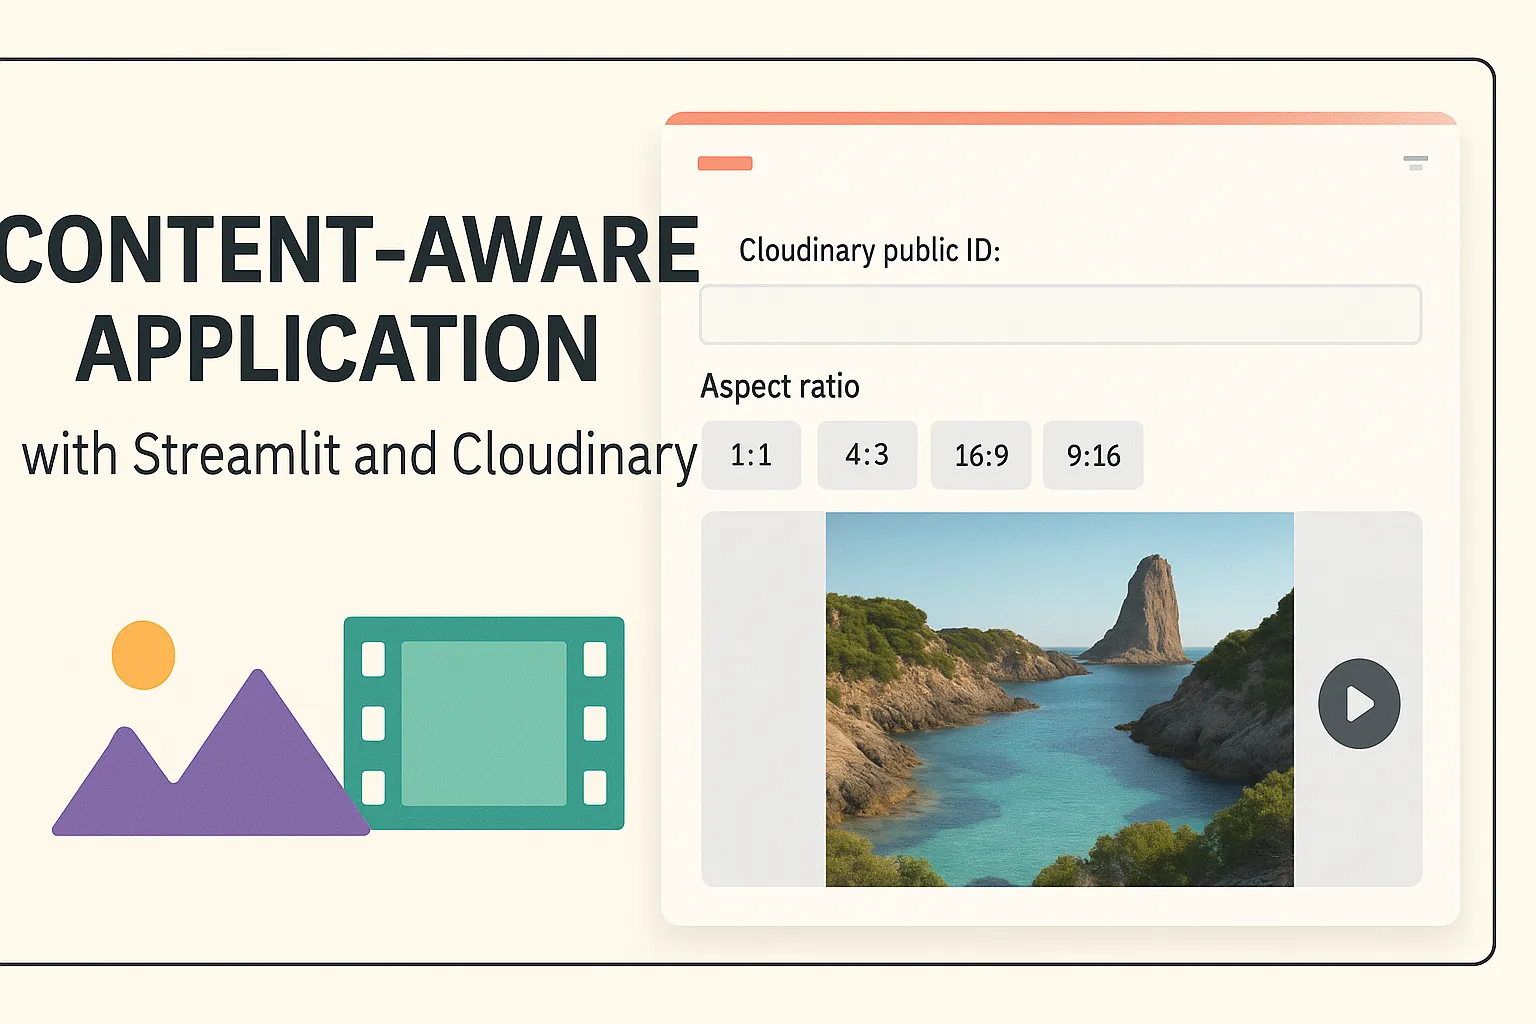
Learn how to build a smart, content-aware cropping app for images and videos using AI. This guide walks you through integrating Cloudinary for media management and Streamlit for a simple, interactive UI. Perfect for developers looking to add intelligent media processing to their apps.
Do you want to be productive as a developer working with a tool that automatically crops your images and videos to the right dimension? If yes, you do not need to use sophisticated tools or editing software to make this happen.
With Cloudinary, you are in for an efficient and effective cropping using content-aware which is an AI powered tool which deliver images and videos to perfectly fit your graphic design and layout, on any device.
In this tutorial, you’ll use Cloudinary and Streamlit to build an engaging and performant web experience for interaction saving you time and effort in delivering visuals to users.
What You’ll Need
To get started with this application, the following is what you need to know or have:
- Create a free Cloudinary account
- Understanding of Python and Streamlit
Check out the Streamlit documentation if you are not conversant with this open-source app framework.
Setting Up the Project
To setup the environment, you need to create a virtual environment and install the dependencies.
mkdir content_aware
cd content_aware
.
├── app.py
├── README.md
├── .env
├── .gitignore
└── requirements.txt
In the terminal, run the following command to create a virtual environment in the root of the project.
python -m venv .venv
Activate the virtual environment.
source .venv/bin/activate
Install the dependencies.
pip install streamlit cloudinary python-dotenv
It is important to include the packages and its versions in the requirements.txt file as shown below:
cloudinary==1.41.0
python-dotenv==1.0.1
streamlit==1.39.0
Environment Variables
Create a file called .env which ensures that your environment variables (API keys) are not exposed to the public.
CLOUDINARY_CLOUD_NAME=your_cloud_name
CLOUDINARY_API_KEY=your_api_key
CLOUDINARY_API_SECRET=your_api_secret
Go to your Cloudinary dashboard and get your credentials to replace the placeholders with your own.
After doing this, create a file called .gitignore and include the .env file in it like this:
.gitignore
.env
Creating the Streamlit App
Before you begin building the app, create a file, app.py and add the following code:
app.py
import streamlit as st
import cloudinary
from cloudinary import CloudinaryImage, CloudinaryVideo
from dotenv import load_dotenv
import os

# Load environment variables from .env file
load_dotenv()

# Initialize Cloudinary configuration
cloudinary.config(
    cloud_name=os.getenv('CLOUDINARY_CLOUD_NAME'),
    api_key=os.getenv('CLOUDINARY_API_KEY'),
    api_secret=os.getenv('CLOUDINARY_API_SECRET'),
    secure=True
)
The above code initializes the Cloudinary configuration and loads the environment variables from the .env file.
Next, create a function that generates the image URL using the CloudinaryImage class with this code:
app.py
... # existing code

def generate_image_url(public_id: str, aspect_ratio: float, width: int) -> str:
    image = CloudinaryImage(public_id)
    transformation = [
        {'aspect_ratio': aspect_ratio, 'gravity': "auto", 'width': width, 'crop': "fill"},
        {'quality': "auto"},
        {'fetch_format': "auto"}
    ]
    return image.build_url(transformation=transformation)
The function, generate_image_url takes three parameters with its data type as follows:
- public_id: The public ID of the image in Cloudinary.
- aspect_ratio: The desired aspect ratio for cropping.
- width: The width for the output image.
The function returns the URL of the processed image with the transformation applied.
Let’s do the same for the video URL by defining the generate_video_url function with this code:
app.py
... #

def generate_video_url(public_id: str, aspect_ratio: float, width: int) -> str:
    video = CloudinaryVideo(public_id)
    transformation = [
        {'aspect_ratio': aspect_ratio, 'gravity': "auto", 'width': width, 'crop': "fill"},
        {'quality': "auto"},
        {'fetch_format': "auto"}
    ]
    return video.build_url(transformation=transformation)
Building the UI for the Image
So far, we have created the functions that generate the image and video URLs without the actual UI. In this section, copy and paste the following code:
... # existing code
def main():
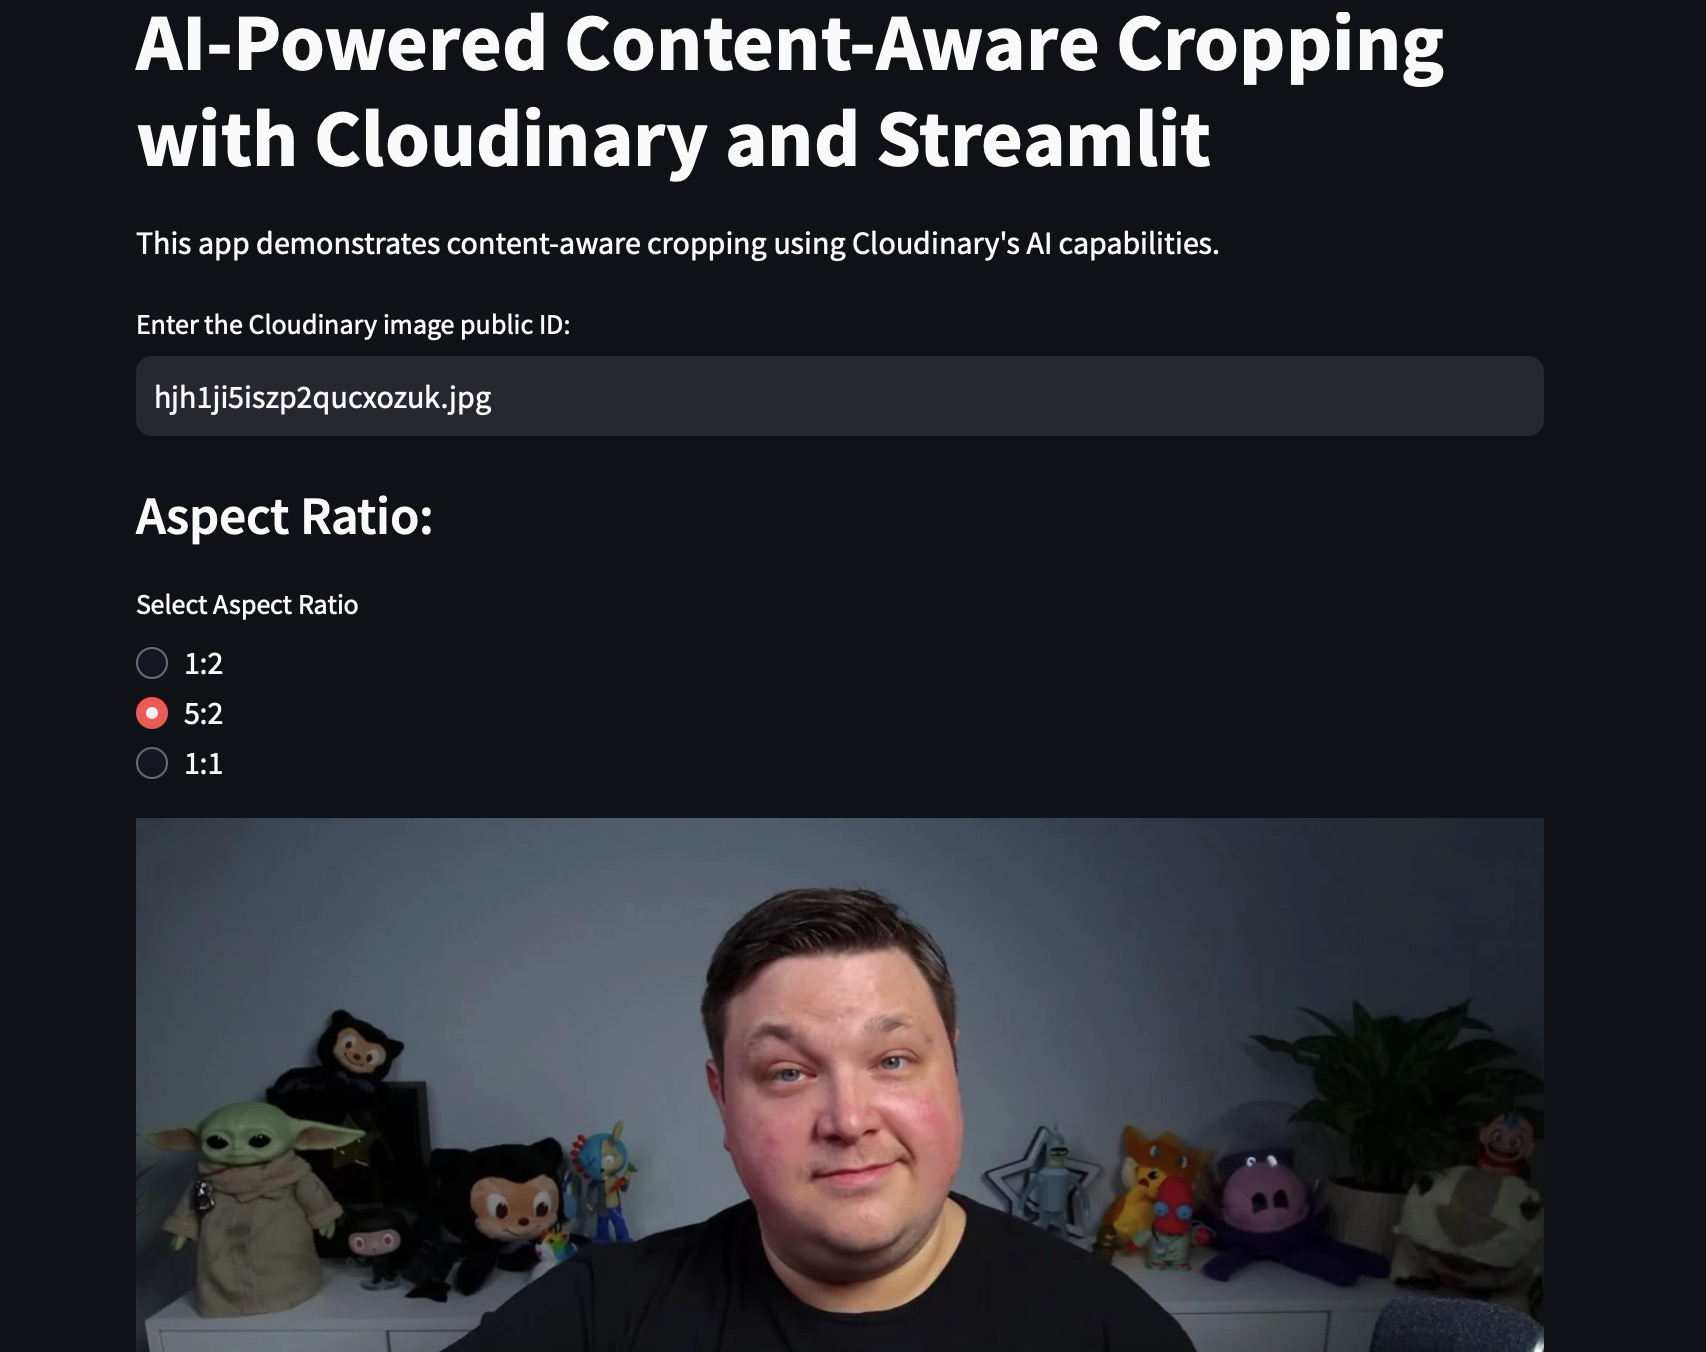
st.title("AI-Powered Content-Aware Cropping for Images and Videos with Cloudinary")
st.write("This app demonstrates content-aware cropping using Cloudinary's AI capabilities.")
# User input for Cloudinary image public ID
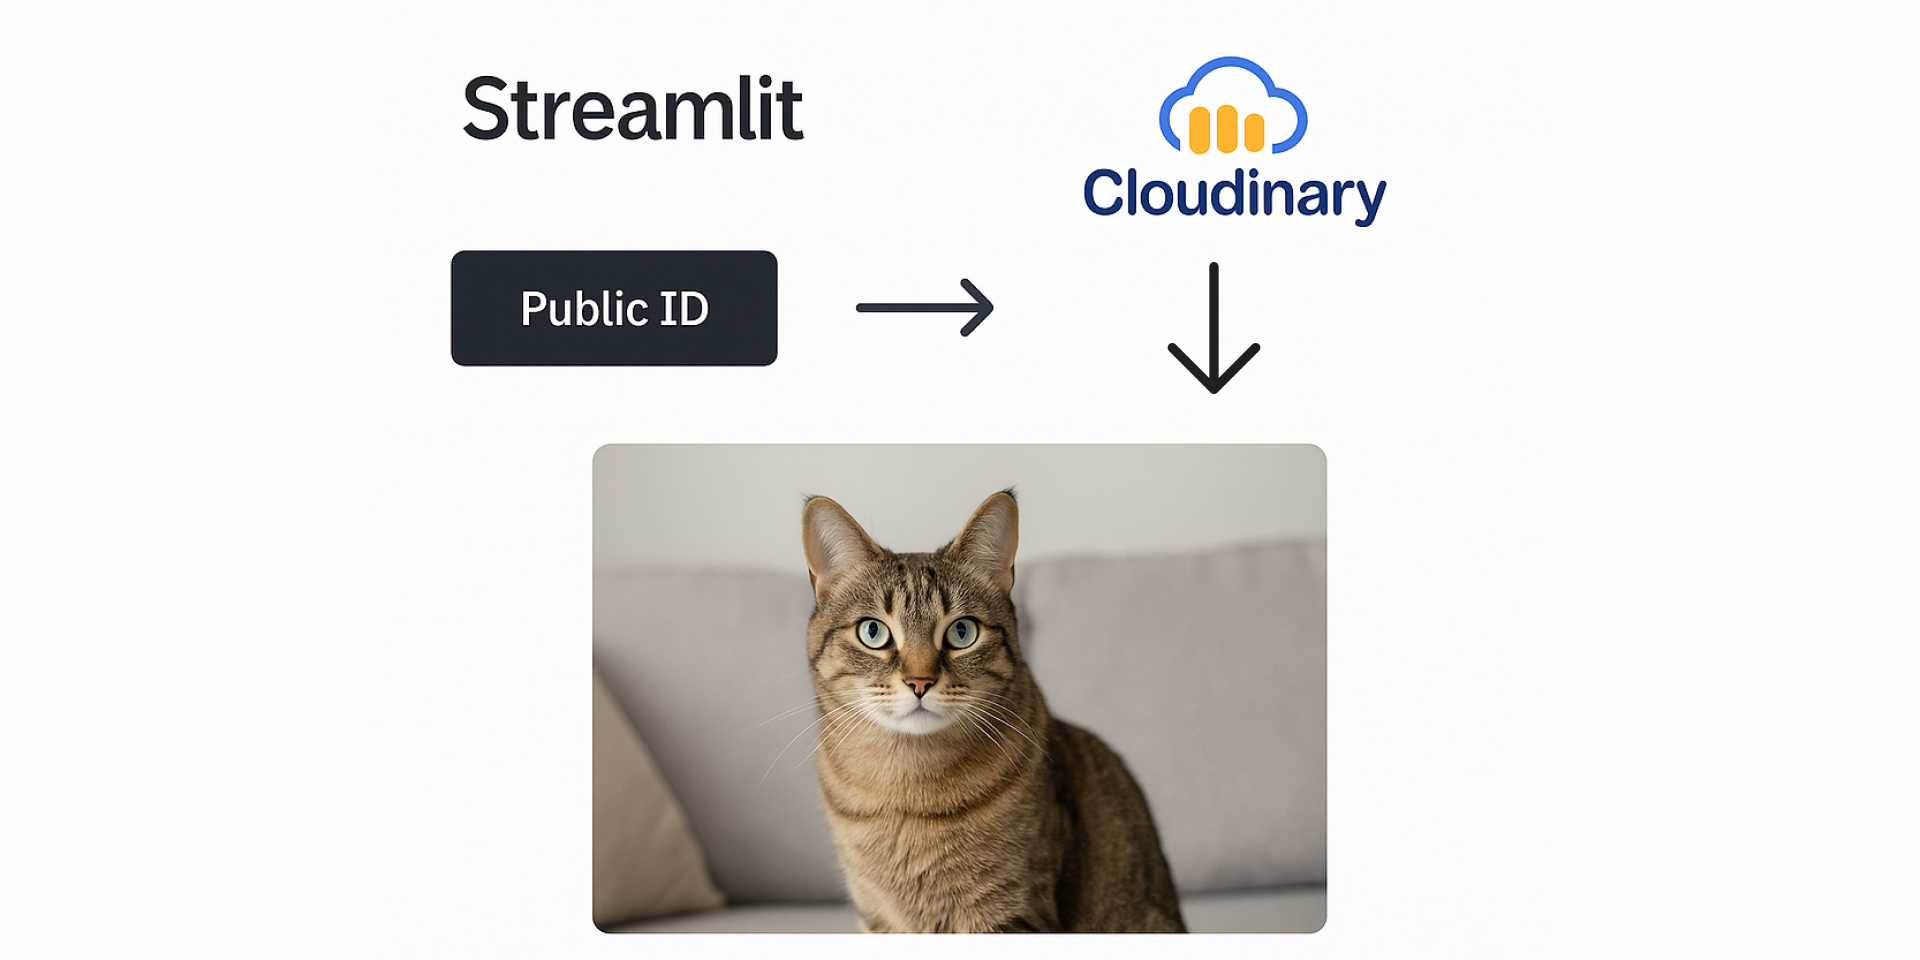
public_id = st.text_input("Enter the Cloudinary image public ID:", "profile_uzviqu")
# Aspect ratio options with corresponding widths
aspect_ratio_options = {
"1:2": (0.5, 433),
"5:2": (2.5, 1300),
"1:1": (1.0, 867)
}
st.subheader("Aspect Ratio:")
selected_option = st.radio("Select Aspect Ratio", list(aspect_ratio_options.keys()), index=1, key="image_radio")
# Get aspect ratio and width based on selection
aspect_ratio, width = aspect_ratio_options[selected_option]
# Generate and display image URL
if public_id:
image_url = generate_image_url(public_id, aspect_ratio, width)
st.image(image_url, caption="Content-Aware Cropped Image")
The code above depicts the following:
- Displays the title, description, and a text input for the Cloudinary image public ID.
- Shows the aspect ratio options as radio buttons with its corresponding widths.
- In Streamlit, functions can accept arguments such that index=1 in the selected_option variable indicates the selected option of the radio button is on the aspect ratio of 5:2 when the page loads.
- To generate and display the image URL, the public ID provided in the text input must be valid. Afterwards, the image URL is displayed using the st.image function with a caption below the image.
Displaying the Video
To display the video, follow the same process as the image above. The only difference is that the st.video function is used instead of the st.image function to call the video URL.
Include the following code in the app.py file:
... # existing code

def video():
    public_id = st.text_input("Enter the Cloudinary Video public ID: ", "video-player/gushing-waterfall")

    video_aspect_ratio_options = {
        "1:2": (0.5, 364),
        "5:2": (2.5, 1300),
        "1:1": (1.0, 728)
    }

    st.subheader("Aspect Ratio:")
    selected_option = st.radio("Select Aspect Ratio", list(video_aspect_ratio_options.keys()), index=1, key="video_radio")

    # Get aspect ratio and width based on selection
    aspect_ratio, width = video_aspect_ratio_options[selected_option]

    if public_id:
        video_url = generate_video_url(public_id, aspect_ratio, width)
        st.video(video_url)
Calling the Functions
Add the following code to the app.py file:
... # existing code

if __name__ == "__main__":
    main()
    video()
Running the App
Now that everything is in place, run the app with this command:
streamlit run app.py
The app should look something like this:
Try it out for yourself.
If you want to make this app yours, then you have to clone it from this repo and include your Cloudinary credentials in the .env file.
Deploying your App
Streamlit offers a free tier for hosting your app using the Streamlit Community Cloud.
Follow the instructions in this guide to deploy your app in production. Remember to include your Cloudinary credentials stored in your .env file in the app settings of the Streamlit Community Cloud.

Wrapping Up
Cloudinary offers a great service for resizing images and videos to desired width which eliminate the need to manually do it, but rather depend on the AI for its smart content-aware cropping.
In this article, we also discovered how to build and deploy this app with Streamlit making you showcase your work without frontend experience.